October 31, 2011

classes and another animal art doll

floral wedding canvas

shadowbox frame

Owlbert Owlingford


With moving house and a few other distractions I have been fairly quiet but I am happy to let you all know that I have some classes coming up if you are in Sydney.

On the 19th of November I'll be teaching the wedding art canvas, the class will be at
 Fred The Needle in Penrith, from 10:30am to about 1pm.
On the 10th of December we will work on creating a vintage shadowbox frame. The kit comes with additional pieces to create wearable embellishments and time permitting I will demo the construction of some pieces to adorn cards or the frame we make.
For more information or to book in call or pop in: 2/29 York Road, Penrith 02 4721 8833 

I thought I would also share a pic of the second owl art doll I made...it was made as a gift for a store owner...she loves owls! I am actually working on a third but am thinking I might make it female..."Owlizabeth"


October 21, 2011

Art Doll Swap #2...Professor Owlington

looking rather dapper, Professor Owlington will be flying international tomorrow to his new home

he began as a simple form...a plain calico doll blank, from there he evolved


his eyes are metal buttons, swarovski crystals inbedded in hot glue and all backed with Prima printed flowers.

his colouring comes from Lumiere paint, Lindy's Stamp Gang Moonshadow Mist and a black Sharpie fabric marker


Swarovski bling on his spats...because all the most fashionable owls are wearing them like that


his cape is from a samples book of haberdashery fabrics that I found at a salvage yard

his replica eyeglass and silver plated chain add real charm. His texture comes from...PVA...yup woodwork glue!
The lovely little bow and pearl are from a chocolate Easter rabbit...I knew they would come in handy


I am currently hosting two swaps on Facebook...one is an apron swap and the other is art dolls. The art doll swap is now on to our second theme..."the animal in me", I chose an owl because I feel that I have had so many experiences the last few months that I have become so much more wiser than I was before. This doll is Professor Owlington...and I am so happy with how he has turned out, I really hope my swap buddy likes him.

October 17, 2011

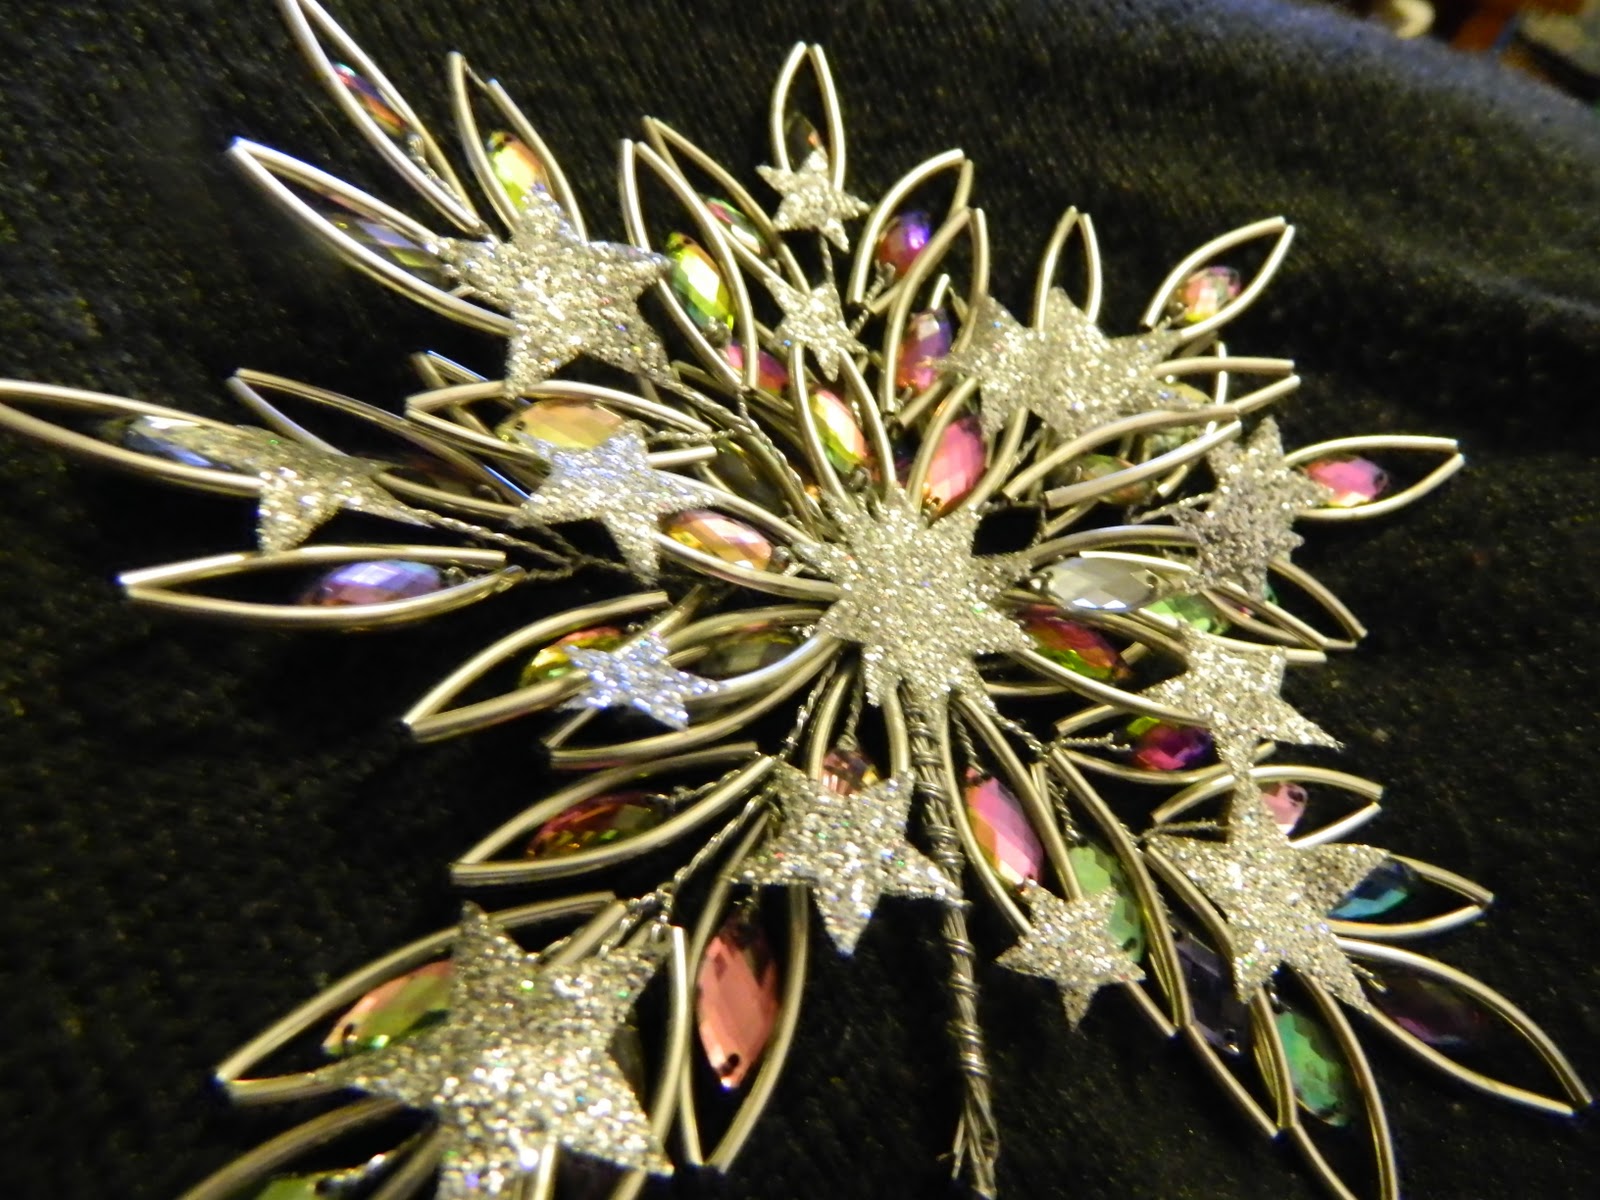
Pretty Little Posies in my hair and a Christmas Star

JD holds the multi layered posie to show the size...he didn't mind doing that as long as people couldn't see his face...because "...only girls hold flowers..."

torn and tattered soft tulle adds a touch of feminine whimsy to the project


I love over-sized hair accessories and the posy is easily placed in to my pony tail...methinks it would be divine in an up-do


with Christmas looming and the shops displaying decorations I thought this year I would create my own tree topper


it's all about glitz and bling right?!


The Posy:


Christmas Star:


October 16, 2011

Mixed Media Apron...my swap project

finished apron


mixed media, repurposed half apron


mixed media flowers created from various surface materials


layered colour and effects

I really enjoy hosting arty swaps and one of them is an apron swap. I had so many ideas about this project and when we moved house and I was pulling weeds in the back yard and discovered an old black apron half buried in a garden bed, I decided it was destined for greater things. I washed it and hung it on the clothes line to study any holes or damage...I was really suprised to find that the only damage was some bleached areas from the sun and exposure to the elements. I used a  6x6 Crafters Workshop stencil (Cosmic Swirl TCW156), deColourant, Lumiere paints for the background, and a variety of experimental materials and varigated threads to create flowers. The Thread Studio has a great range of fun and fantastic products for projects like this.
Tomorrow I am off to the post office to send the apron to my swap buddy, I hope she enjoys it.


October 15, 2011

Wedded Bliss 12x12 mixed media canvas...it's NOT a layout

the picture is a bit fuzzy because it's small and I can't be bothered retaking a photo right now because I want to finish my apron swap project


texture created through layering...PVA is my friend!


I can't give away too much detail because I am pushing it as a future class but I will tell you I used nearly 120 1.75cm flowers from Green Tara. My project is a 12x12 shallow back canvas...are you shocked I used the front?


Green Tara 1.75cm flowers:
black (CODE: FDV016BL), red (CODE: FDV016R) and white (CODE: FDV016Wh) 1.75cm paper...well worth it I think.

WOW/RW "Raspberry Whirl" flourish

Lindy's Stamp Gang Starburst Stains and Colorshots


October 14, 2011

catching up and a card


I thought I'd share a pic of a class I'll be running next year...it's a card!
I know I have been pretty quiet of late but I am still unpacking from the move...I have so much stuff that I just can't find a place for, it is so frustrating to go from renting a large house to renting a small house. I don't have a studio any more, so it's back to the kitchen table for me and my crafty stash is in just about every room in the house...yup even the kids rooms have crates of my stuff. I am working on a few projects too! I finally had a play with my new Brother ns50 sewing machine yesterday while working on my apron for the international swap I am hosting through Facebook. I am really excited about 2012 because I have been asked to teach in New Zealand! I have a few friends over there and I really hope I will get to catch up with them.

September 18, 2011

Retreat to create

#1 my pizza box


#2 red bird pizza box


#3 lavender bird pizza box...I have just returned from a four day retreat with a group of scrapbooking friends. I even a little scrapbooking. I got to hang out with my friends Gillian, Renee and Suzanne, and I created and played. We were given blank pizza boxes to store our projects in, I decided to decorate mine and a couple of my friends asked if I would do something with their blank pizza boxes, so I did...I decorated four in total and did a mini lesson with a couple of ladies so they could decorate their own.
I also made a couple of cards, a canvas and one or two other little things, all of which I will take pics of during the week and share with you. 


August 25, 2011

yes I'm still here

Circle Blooms demo flowers

Demo Diva at Western Australia Craft & Quilt Show


Boo! Have you missed me? yes I know a few of you have, and to those thank you for the emails concerned about my lack of posting here on my blog. I have been crazy busy. I went to Melbourne for a weekend workshop and had a great time with Cindy Porter and the lovely students and staff from A Scrappe Angels Heaven. The work the ladies did was beautiful and I loved teaching them. The store is amaaaaaaaazing! 
So after my Melbourne trip I was off on another flight...Perth! It was so wonderful to get back to my home state to catch up with family and friends. Of course the trip was really a business trip and my first job was at the WA Craft and Quilt Show where I was hosted as "interstate guest". I did Circle Bloom and GT Dipper flowers using Lindy's Stamp Gang Colorshots and Magical Micas and Derwent Inktense pencils and colourblocks...all available from The Thread Studio. I was really lucky to be working at Dale's stand because The Thread Studio is stocked with some of my most favorite products. My next job was a workshop at Scrapbook Central where I taught a variety of techniques that went in to creating an original and GENUINE antique wood printer tray. So now my trip is behind me I am in the throes of moving house...again!!! The house that we are going to is actually the last house we rented...how funny is that!?! Anyhoo I promise I'll be a bit more active with my creations as soon as I'm settled in to my new work space.


July 03, 2011

the beauty of fiber

using a mix of goodies from the Thread Studio I have created a funky cuff for myself...I love how warm and soft it is and I'm thinking that I really need a different colour for each day of the week

I began with some silkworm cocoon fiber which is hand dyed, I added some of the stained gauze and hand felted some little flowers

the lace was stained with my Starburst Stains and once dry a little Smooch Ink finished the look

I used the Smooch Ink on the cotton thread to blend it in slightly and I just had to use some beautiful crystal beads to add a bit of bling

June 29, 2011

mini crowns

I'll be taking the little crowns that I have created (using a Collections mini crown kit) with me to the craft show in August as part of my display

I have used silk velvet from The Thread Studio


The kits come as a pack of three sets to put together and are easy to adapt and fun to play with

lovely fantasy film

this is a little stand I made for the crowns...they are made from chipboard and wooden plugs

 My two "Collections" mini crowns sitting on their stands